Free Panda Crochet Pattern (Amigurumi Panda Bear)
Free Panda Crochet Pattern (Amigurumi Panda Bear)
This post contains affiliate links. If you purchase through these links, I may earn a small commission at no extra cost to you.
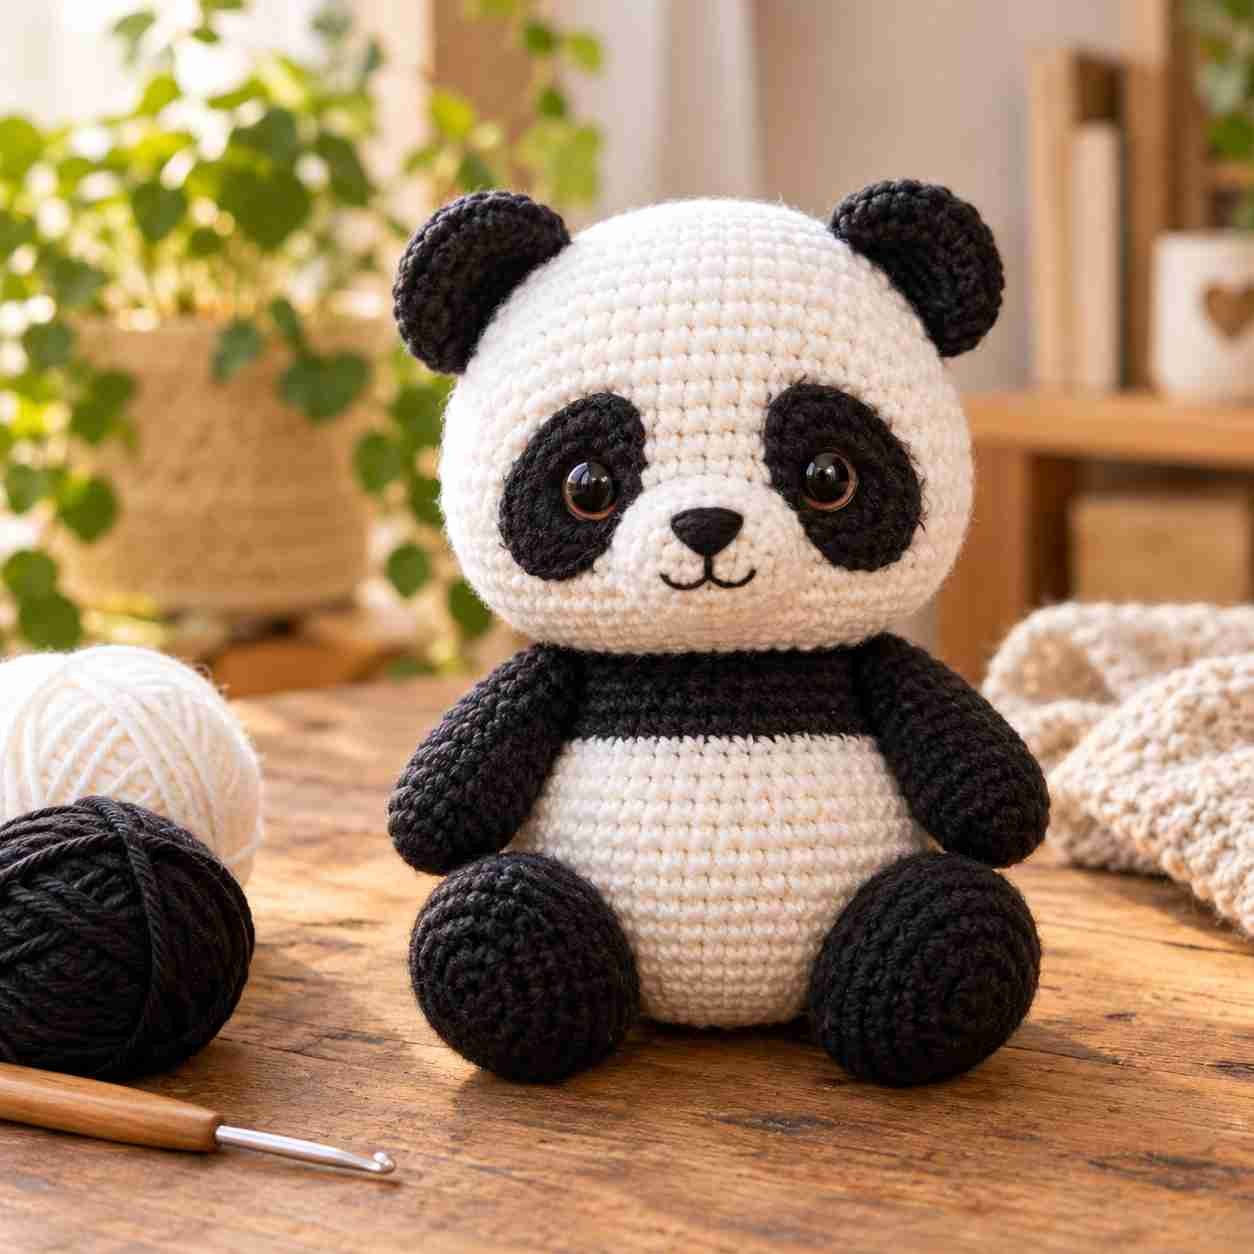
Meet Bao, a round-bellied amigurumi panda with the classic black-and-white markings that make this one of the most recognizable animals to crochet. Unlike the bunny, bear, and cat patterns in this series, which use a single main color throughout, this panda introduces color-blocking ,working two colors within the same piece to create the panda’s signature eye patches, ears, and limbs. If you’ve completed our other beginner patterns, this is a great next project to build your color-change skills.
Bao stands at approximately 8.5 inches tall when seated. Because of the added color changes, this pattern takes a bit longer than our single-color patterns ,expect around 5-6 hours from start to finish, most of which goes into carrying yarn colors cleanly and weaving in the extra ends that come with multi-color amigurumi.
A Few Panda Facts
Giant pandas are native to a handful of mountain regions in central China, and despite their black-and-white coloring, their exact markings ,including the size and shape of the eye patches ,vary slightly from panda to panda, similar to how no two real animals look identical. This is actually good news for your crochet project: there’s no single “correct” size for the eye patches, so don’t worry about making them perfectly symmetrical or matching a photo exactly. Pandas are also famously solitary and spend up to 12 hours a day eating bamboo, which is a fun detail to know if you’re adding a little bamboo stalk accessory to your finished piece (see the Variations section below).
Materials Needed
- Worsted weight yarn in white for the main body ,approximately 90g
- Worsted weight yarn in black for the ears, eye patches, arms, and legs ,approximately 40g
- 3.5mm crochet hook
- Polyester fiberfill stuffing
- 12mm safety eyes (black eyes tend to disappear into the black eye patches ,consider brown or dark amber safety eyes instead for better visibility)
- Tapestry needle
- Stitch marker
- Small stitch markers or bobby pins to hold yarn strands out of the way during color changes
- Scissors
A note on yarn choice for this pattern specifically: because the black and white sections sit right next to each other, a smoother, less fuzzy yarn (like a basic acrylic or cotton-acrylic blend) will give you a cleaner color line than a fuzzy or textured yarn, where the colors tend to blend into each other at the seams.
Finished Size
Approximately 8.5 inches (21.5cm) tall when seated. Pandas are naturally round and stocky, so this pattern uses slightly more increase rounds on the body than the cat or bunny patterns to achieve that characteristic chubby silhouette.
Gauge
- 4 single crochet stitches = 1 inch
- 4 rows = 1 inch
Tension consistency matters more than usual on this pattern, since uneven tension is more visible where two colors meet.
Tips Before You Start
- Change colors on the last yarn-over of the previous stitch, so the new color is already in place at the start of the next stitch ,this is the standard technique for clean color transitions in amigurumi.
- Carry the unused color loosely inside the stitches when you’ll need it again within a few rounds, rather than cutting and rejoining yarn repeatedly, which creates far more ends to weave in.
- Work the eye patches as separate small pieces sewn on afterward rather than trying to change colors mid-round on the head ,this gives you full control over the patch shape and placement, and is much more forgiving for beginners to color-work.
- Weave in ends as you go rather than saving them all for the end ,with this many color changes, leaving them all until the end makes for a tedious final step and increases the chance of missing one.
Common Mistakes to Avoid
A few issues come up more often on multi-color amigurumi like this panda than on single-color patterns:
- Visible color “jog” at the round transition. This is normal in amigurumi and mostly hidden once the piece is stuffed ,but keeping your color change stitch consistent (always changing on the same side of the round) makes it much less noticeable.
- Eye patches that are too small or oddly shaped. Cutting your eye patches from a simple flat crocheted circle (rather than trying to shape them directly on the curved head) gives a rounder, more even result.
- Loose floats behind the work. If you’re carrying yarn across the back of your stitches for future color changes, keep the tension loose enough that the fabric doesn’t pucker or curl.
- Using pure black safety eyes on black eye patches, which makes the eyes disappear visually. A dark brown or amber eye stands out much better against a black patch.
Panda Crochet Pattern
Head
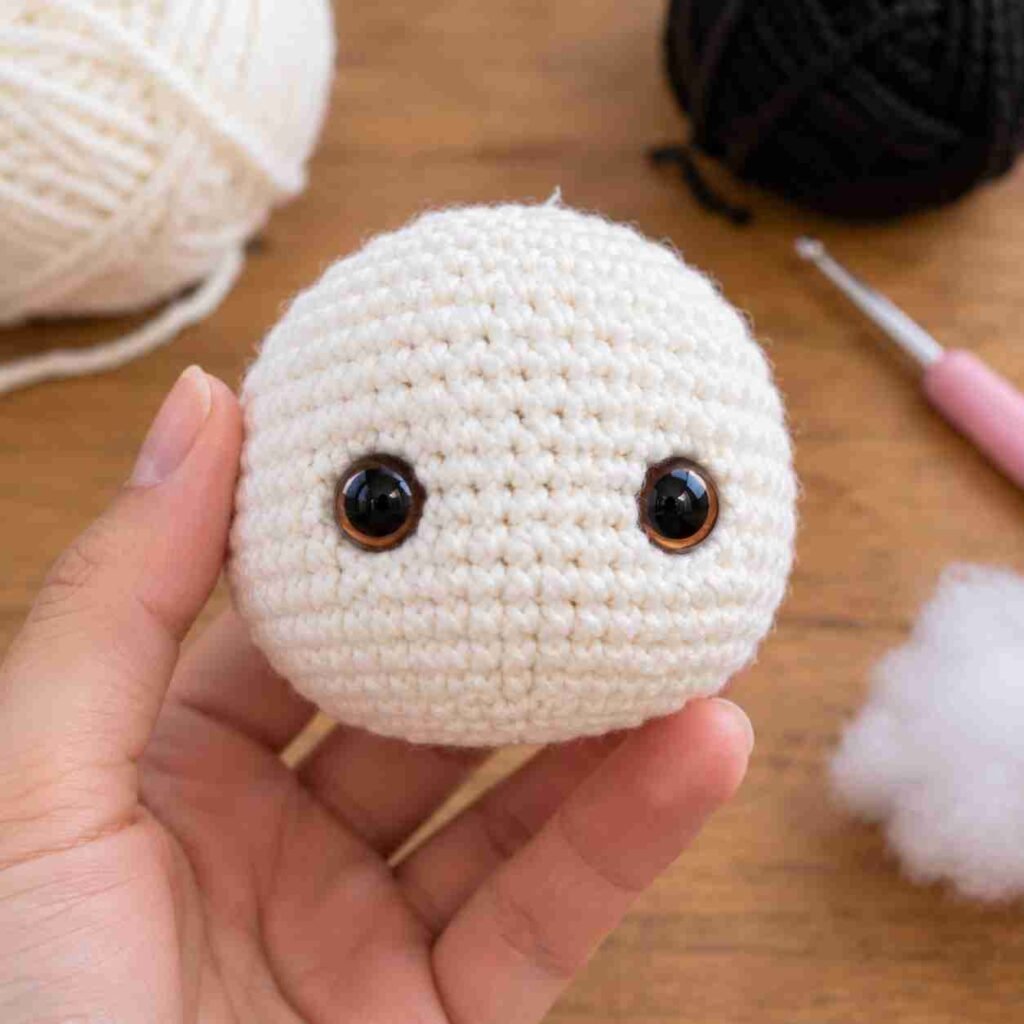
Using white:
- Rnd 1: MR, 6 sc into ring (6)
- Rnd 2: inc in each st around (12)
- Rnd 3: [sc, inc] x 6 (18)
- Rnd 4: [sc 2, inc] x 6 (24)
- Rnd 5: [sc 3, inc] x 6 (30)
- Rnds 6-12: sc around (30) — 7 rounds
Insert safety eyes between rounds 7 and 8, spaced about 9 stitches apart. Eye patches (made separately below) will be sewn around the eyes afterward.
- Rnd 13: [sc 3, dec] x 6 (24)
- Rnd 14: [sc 2, dec] x 6 (18)
Begin stuffing firmly.
- Rnd 15: [sc, dec] x 6 (12)
Finish stuffing.
- Rnd 16: dec x 6 (6)
Fasten off, leaving a long tail for sewing to the body.
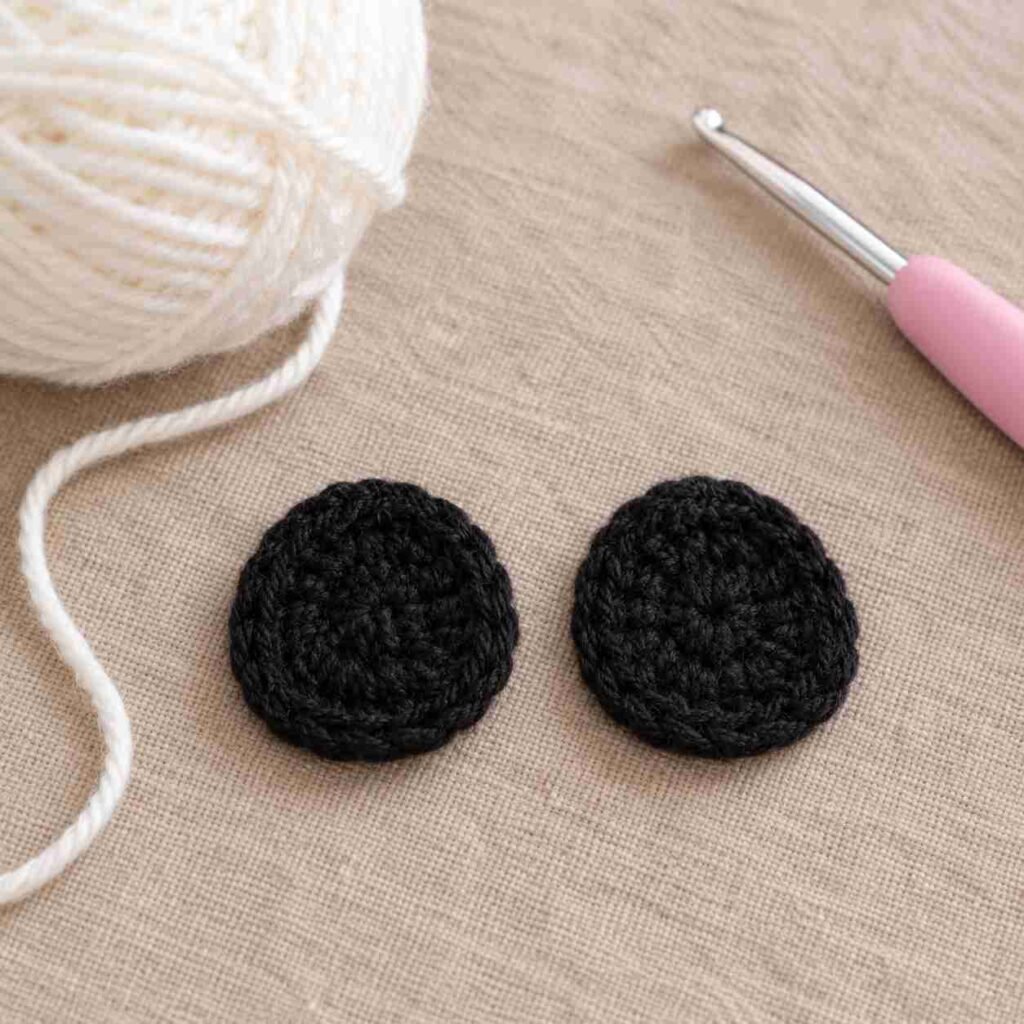
Eye Patches (Make 2, in black)
- Rnd 1: MR, 6 sc into ring (6)
- Rnd 2: inc in each st around (12)
- Rnd 3: [sc, inc] x 6 (18)
Fasten off, leaving a tail for sewing. Flatten each patch and position it over one eye at a slight downward-outward angle, then sew around the edge ,this angled placement is what gives pandas their distinctive tired-looking eye expression.
Ears (Make 2, in black)
- Rnd 1: MR, 6 sc into ring (6)
- Rnd 2: inc in each st around (12)
- Rnd 3: sc around (12)
Fasten off, leaving a tail for sewing. Flatten and sew flat to the top of the head, unstuffed, spaced further apart than on the bear pattern ,panda ears sit more toward the sides of the head.
Body
Using white:
- Rnd 1: MR, 6 sc into ring (6)
- Rnd 2: inc in each st around (12)
- Rnd 3: [sc, inc] x 6 (18)
- Rnd 4: [sc 2, inc] x 6 (24)
- Rnd 5: [sc 3, inc] x 6 (30)
- Rnd 6: [sc 4, inc] x 6 (36)
- Rnds 7-13: sc around (36) — 7 rounds
- Rnd 14: [sc 4, dec] x 6 (30)
Begin stuffing.
- Rnd 15: [sc 3, dec] x 6 (24)
- Rnd 16: [sc 2, dec] x 6 (18)
Finish stuffing firmly.
- Rnd 17: dec x 6 (9)
Fasten off, leaving a long tail for attaching the head.
Arms (Make 2 — white shoulder, black hand)
- Rnd 1 (black): MR, 6 sc into ring (6)
- Rnds 2-3 (black): sc around (6) — 2 rounds
- Rnds 4-8 (switch to white): sc around (6) — 5 rounds
Fasten off, leaving a tail for sewing. Stuff only the black “hand” section lightly, leaving the white shoulder section flat for sewing.
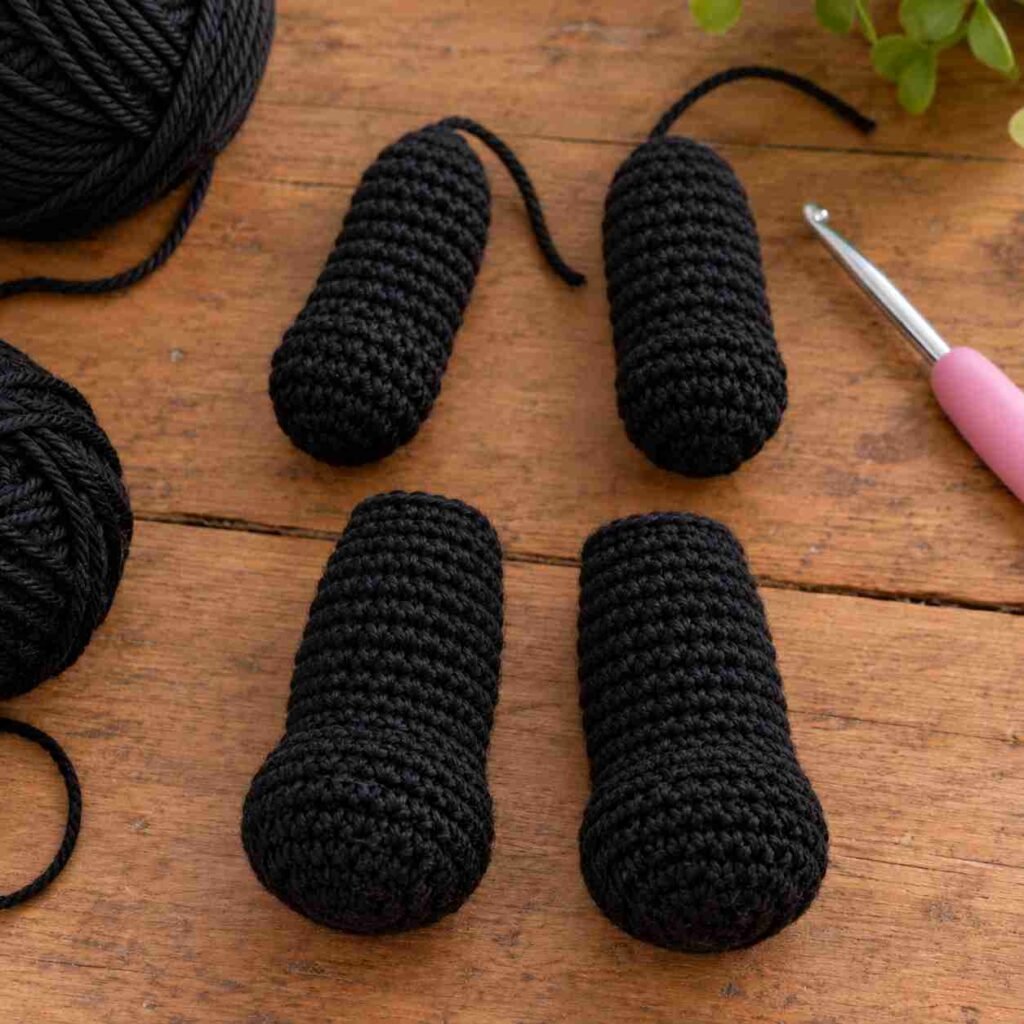
Legs (Make 2 — white top, black foot)
- Rnd 1 (black): MR, 6 sc into ring (6)
- Rnd 2 (black): inc in each st around (12)
- Rnds 3-4 (black): sc around (12) — 2 rounds
- Rnd 5 (switch to white): [sc 2, dec] x 3 (9)
- Rnds 6-9 (white): sc around (9) — 4 rounds
Fasten off, leaving a tail for sewing. Stuff lightly, leaving the top flat.
Assembly
Step 1: Sew the eye patches around each safety eye before attaching the head to the body — it’s much easier to position them accurately while the head isn’t yet attached.
Step 2: Sew the head to the top of the body, keeping it centered.
Step 3: Sew the ears to the top of the head, spaced toward the sides.
Step 4: Attach the arms to the upper sides of the body, with the black hand sections facing slightly forward.
Step 5: Attach the legs to the bottom of the body, black feet facing forward, spaced for a stable sitting position.
Step 6: Weave in all remaining ends — there will be more than usual with this pattern, so take your time to secure each one.
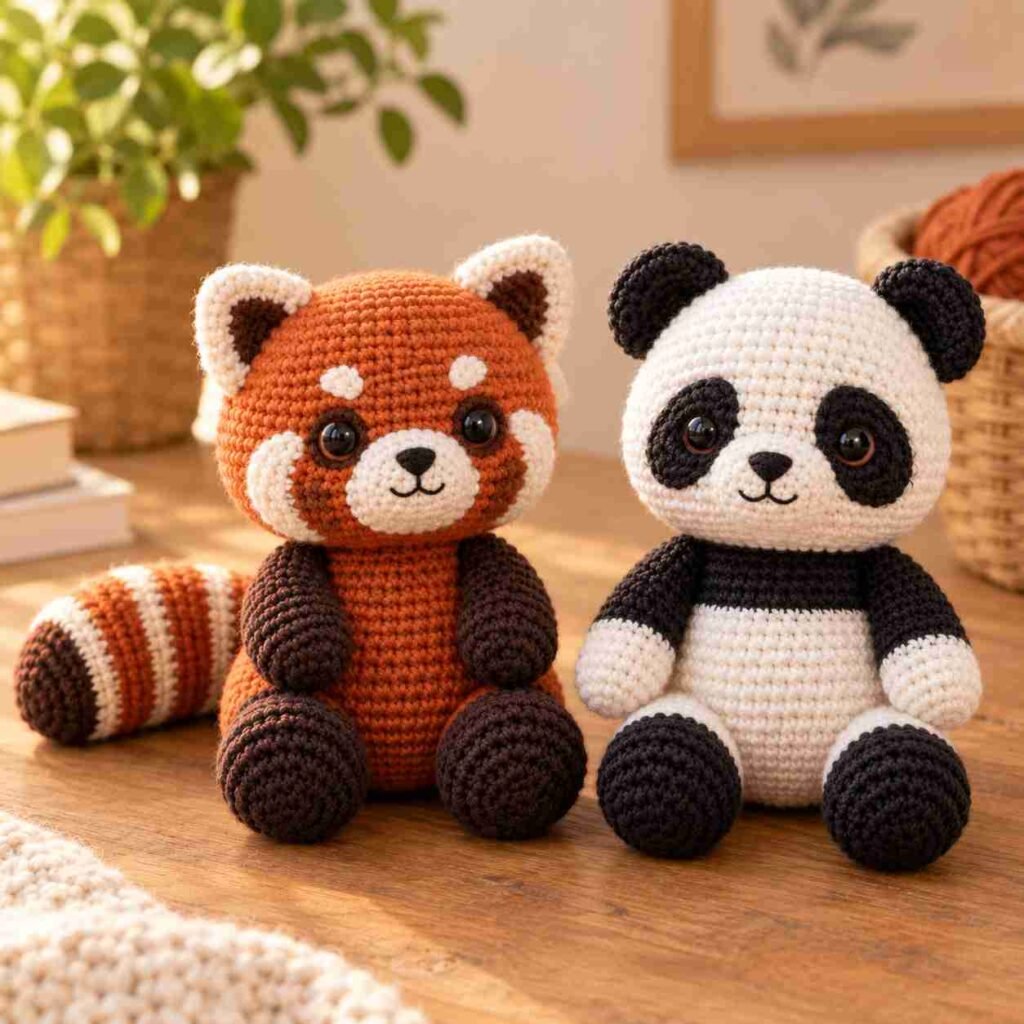
Variation: Red Panda
If you’d like to make a red panda instead of a giant panda, the same base shaping works with a different color layout: use rust-orange or reddish-brown as your main body color, white for the face and inner ear patches, and black or dark brown for the eye markings, paws, and tail tip. Red pandas also have a long, ringed tail (you can reuse the tail pattern from our bunny or cat pattern, worked longer and lightly stuffed, with alternating orange and cream stripes worked in rounds of 2-3 rows each).
Caring for Your Finished Amigurumi
Because this pattern uses two yarn colors placed close together, be a little more careful when spot-cleaning ,rubbing too vigorously at a white section next to black yarn can occasionally transfer a small amount of color, especially with lower-quality acrylic yarns. Test any cleaning method on a small hidden area first, use cool water only, and always air-dry flat away from direct sunlight to prevent color fading or bleeding between sections.
Frequently Asked Questions
Why use brown or amber safety eyes instead of black? Black safety eyes tend to blend into the black eye patches, making the face look flat. A dark brown or amber eye creates enough contrast to stay visible.
Do I need to know special color-change techniques for this pattern? Just the basic color-change technique described in the tips section above — this pattern avoids more advanced color work (like intarsia or tapestry crochet) by keeping most color sections as separate solid-color rounds or sewn-on pieces.
How much yarn do I need in total? Approximately 90g of white and 40g of black is enough for one panda at the size given, with a little extra recommended for weaving in ends generously.
Can I make this pattern smaller for a keychain-sized panda? Yes — using a 2.5mm hook with sport weight yarn will produce a miniature version roughly half the size, though the eye patches and ear pieces may need one fewer round to stay proportional.
Is this pattern beginner-friendly? It’s a good step up for confident beginners who have completed a single-color amigurumi first, mainly because of the added color changes and slightly higher number of pieces to assemble.
Final Thoughts
Bao is the most technically involved pattern in this series so far, but the color-blocking skills you’ll practice here ,clean color changes, sewn-on patches, and two-tone limbs ,carry over directly to many other animal patterns, from foxes to skunks to raccoons. Share your finished panda in the comments below, or tag us on social media ,we’d love to see how your color placement turned out !