Free Teddy Bear Crochet Pattern (Amigurumi Bear)
Free Teddy Bear Crochet Pattern (Amigurumi Bear)
This post contains affiliate links. If you purchase through these links, I may earn a small commission at no extra cost to you.
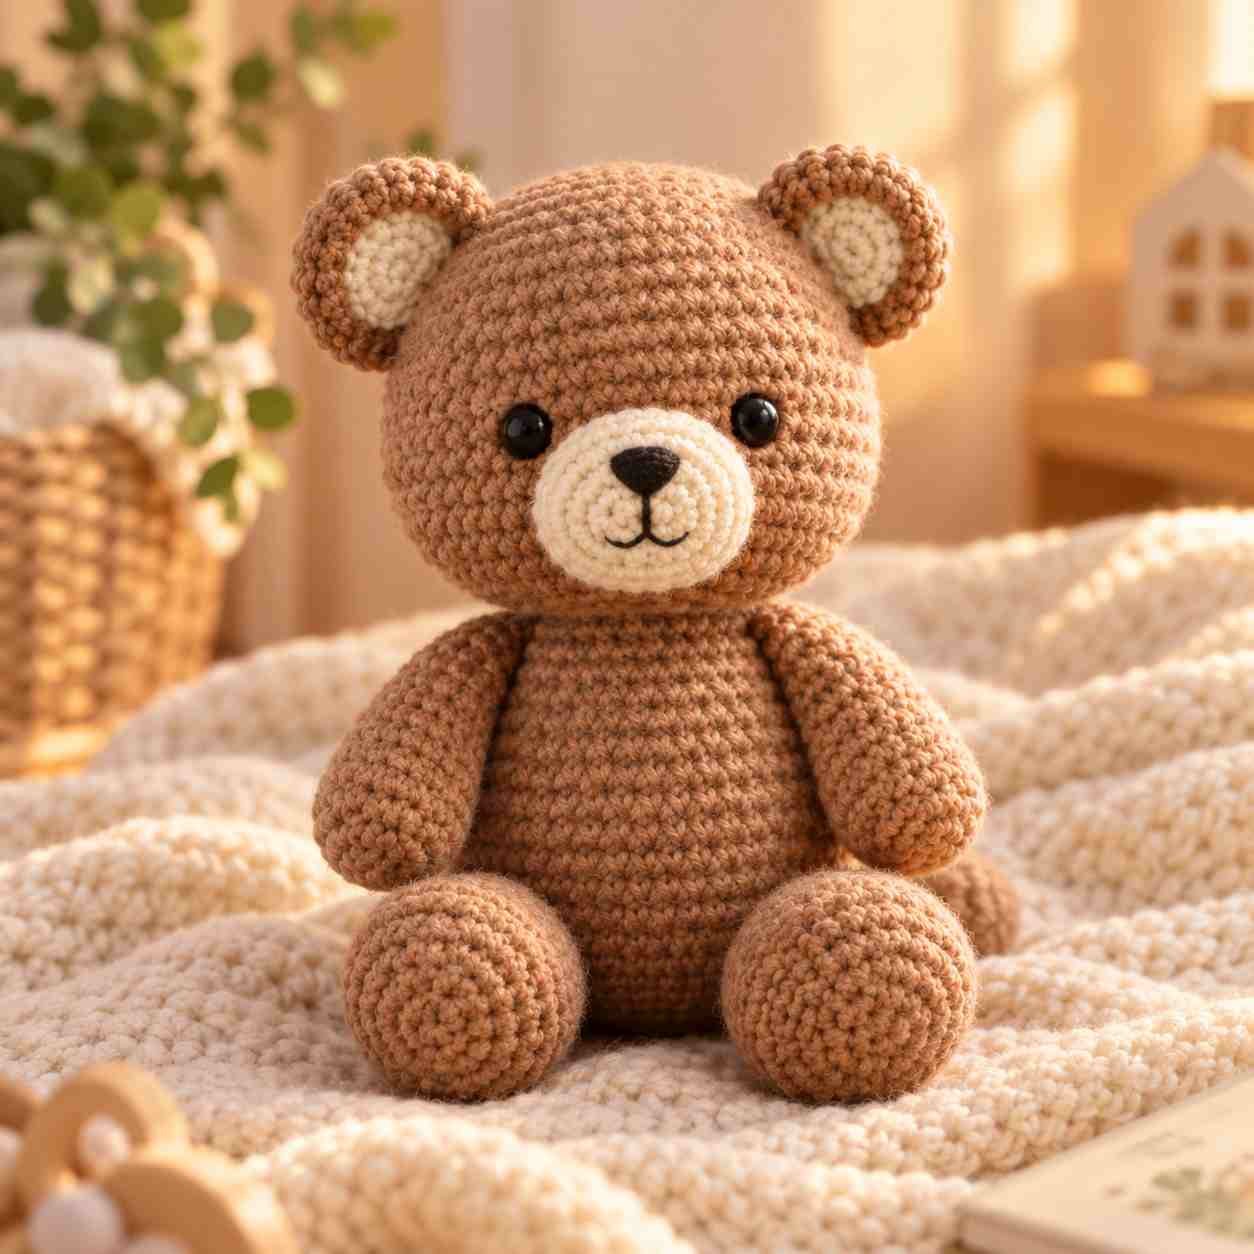
Meet Baxter, a round, huggable amigurumi teddy bear that makes the perfect handmade gift or nursery decoration. Building on the same basic shaping techniques as our bunny crochet pattern, this bear introduces one new element , a separate snout piece , while still staying approachable for confident beginners. Baxter stands at approximately 9 inches tall once assembled.
This bear works up in continuous rounds using worsted weight yarn, and takes most crocheters around 4-5 hours to complete, slightly longer than the bunny due to the extra snout piece and a slightly bigger body. If you haven’t made an amigurumi before, we recommend starting with our bunny pattern first to get comfortable with basic shaping before tackling this one.
Materials Needed
- Worsted weight yarn in light brown or tan for the main body ,approximately 120g
- Small amount of cream/off-white yarn for the snout and inner ears
- 3.5mm crochet hook
- Polyester fiberfill stuffing
- 12mm safety eyes
- Small black yarn scrap or safety nose for the nose
- Tapestry needle
- Stitch marker
- Scissors
A tip specific to this pattern: because the snout is worked in a contrasting light color, choose a main color with enough contrast (like a warm brown against cream) so the two-tone face reads clearly from a distance , very pale or very dark main colors can make the snout blend in too much.
Finished Size
Approximately 9 inches (23cm) tall when seated, using the materials above. As with the bunny, size will shift with different yarn weights and hook sizes ,this bear also looks great scaled down to “mini” size using a 2.5mm hook and sport weight yarn, which is a popular variation for keychains or ornaments.
Gauge
- 4 single crochet stitches = 1 inch
- 4 rows = 1 inch
Gauge matters less than consistency here , a slightly looser or tighter tension will simply change the finished size slightly without affecting the shape.
Tips Before You Start
- The snout is the trickiest new part of this pattern ,take it slow on the BLO round, since working in the back loop only creates the raised seam that gives the snout its shape.
- Pin the snout in place before sewing, then step back to check positioning before committing to stitches.
- Use a slightly darker contrast color for embroidering the nose and mouth so they stand out clearly against the light snout.
- Stuff firmly and in stages rather than all at once at the end, for an even, lump-free shape.
Teddy Bear Crochet Pattern
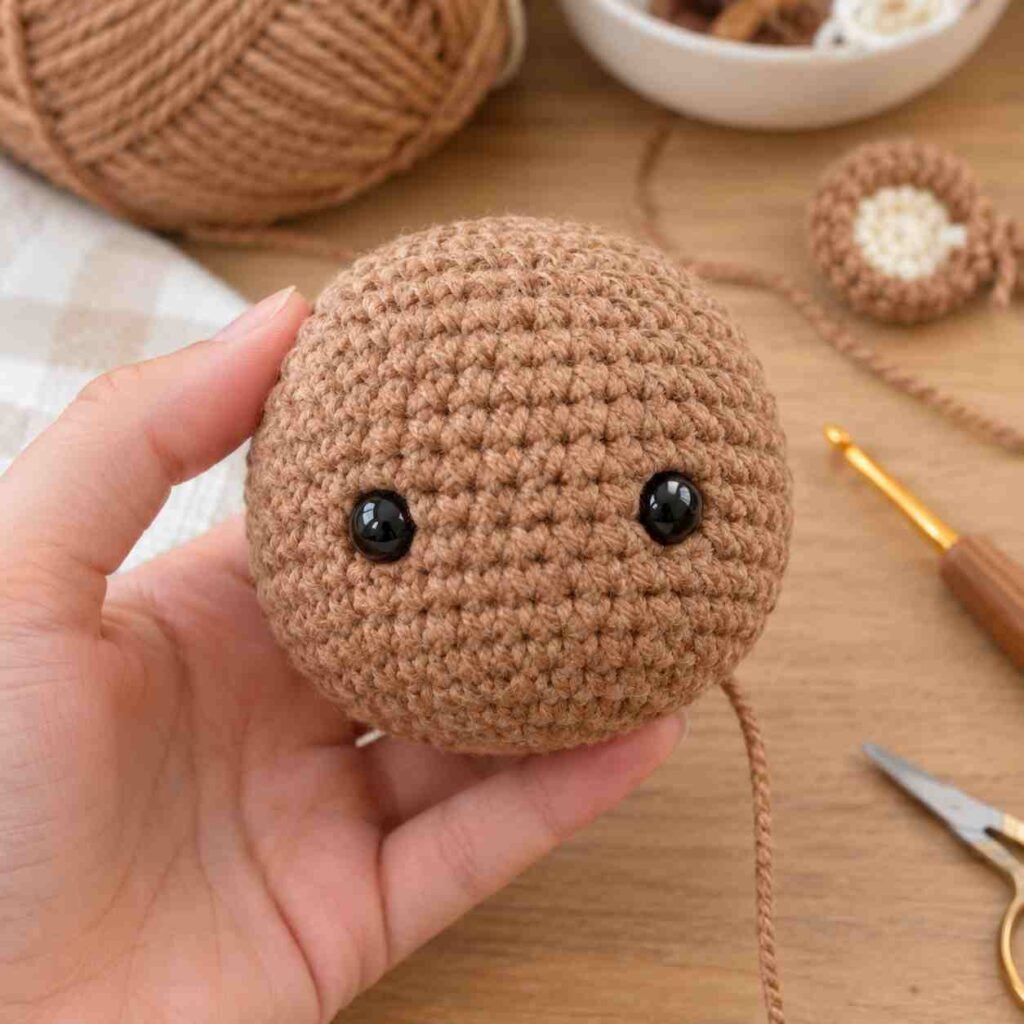
Head
Using main color:
- Rnd 1: MR, 6 sc into ring (6)
- Rnd 2: inc in each st around (12)
- Rnd 3: [sc, inc] x 6 (18)
- Rnd 4: [sc 2, inc] x 6 (24)
- Rnd 5: [sc 3, inc] x 6 (30)
- Rnd 6: [sc 4, inc] x 6 (36)
- Rnd 7: [sc 5, inc] x 6 (42)
- Rnds 8-14: sc around (42) — 7 rounds
Insert safety eyes between rounds 9 and 10, spaced about 10 stitches apart.
- Rnd 15: [sc 5, dec] x 6 (36)
- Rnd 16: [sc 4, dec] x 6 (30)
Begin stuffing firmly.
- Rnd 17: [sc 3, dec] x 6 (24)
- Rnd 18: [sc 2, dec] x 6 (18)
Finish stuffing.
- Rnd 19: [sc, dec] x 6 (12)
- Rnd 20: dec x 6 (6)
Fasten off, leaving a long tail for sewing to the body.
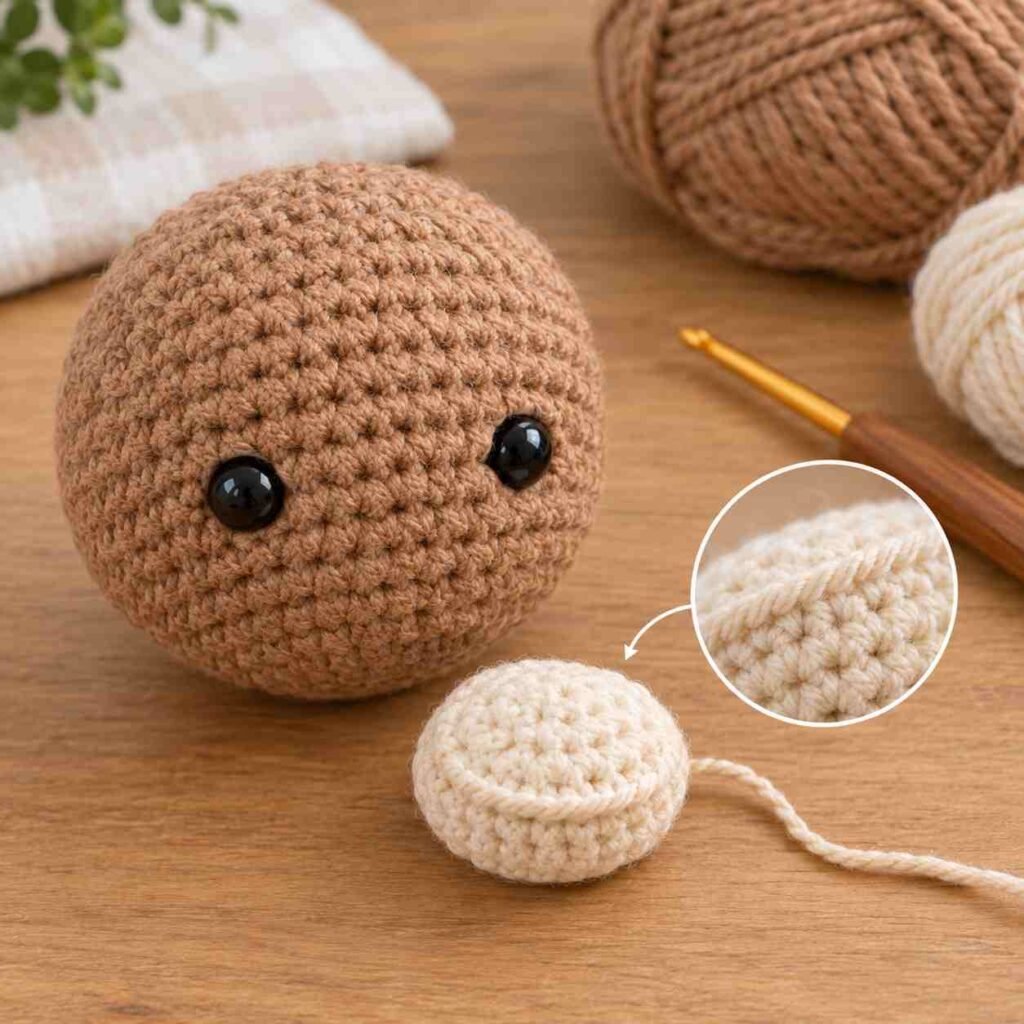
Snout
Using cream/contrast color:
- Rnd 1: MR, 6 sc into ring (6)
- Rnd 2: inc in each st around (12)
- Rnd 3: [sc, inc] x 6 (18)
- Rnd 4 (BLO): sc in back loop only around (18)
- Rnd 5: sc around (18)
Fasten off, leaving a long tail for sewing. Stuff very lightly ,the snout should be soft, not firm, so it blends smoothly into the face when sewn on. The BLO round creates a visible ridge that gives the snout its raised, three-dimensional look.
Ears (Make 2)
Using main color, with a small cream center:
- Rnd 1: MR, 6 sc into ring (6)
- Rnd 2: inc in each st around (12)
- Rnd 3: sc around (12)
Fasten off, leaving a tail for sewing. Flatten and sew flat to the head (not stuffed).
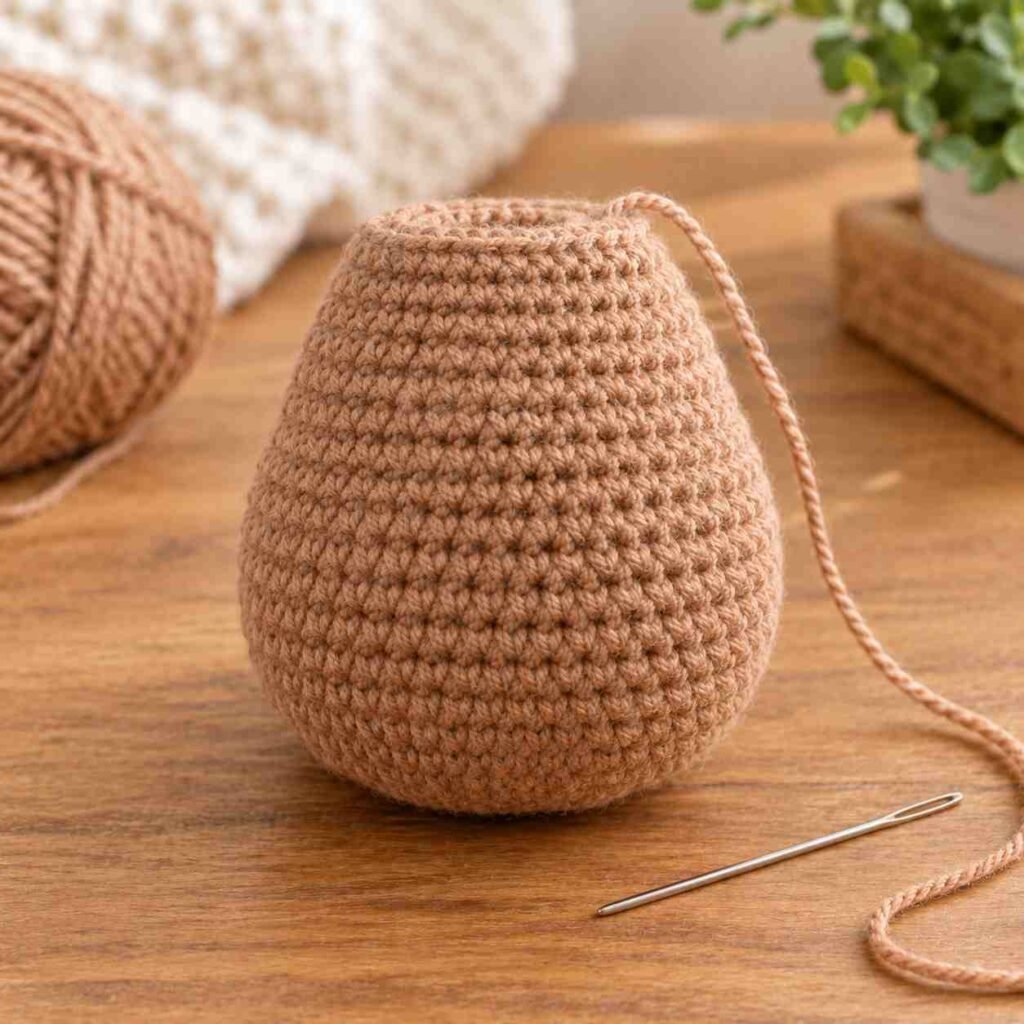
Body
Using main color:
- Rnd 1: MR, 6 sc into ring (6)
- Rnd 2: inc in each st around (12)
- Rnd 3: [sc, inc] x 6 (18)
- Rnd 4: [sc 2, inc] x 6 (24)
- Rnd 5: [sc 3, inc] x 6 (30)
- Rnds 6-12: sc around (30) — 7 rounds
- Rnd 13: [sc 3, dec] x 6 (24)
Begin stuffing.
- Rnd 14: [sc 2, dec] x 6 (18)
- Rnd 15: [sc, dec] x 6 (12)
Finish stuffing firmly.
- Rnd 16: dec x 6 (6)
Fasten off, leaving a long tail for attaching the head.
Arms (Make 2)
Using main color:
- Rnd 1: MR, 6 sc into ring (6)
- Rnd 2: sc around (6)
- Rnds 3-9: sc around (6) — 7 rounds
Fasten off, leaving a tail for sewing. Stuff only the bottom third lightly, leaving the top flat for sewing to the body.
Legs (Make 2)
Using main color:
- Rnd 1: MR, 6 sc into ring (6)
- Rnd 2: inc in each st around (12)
- Rnds 3-4: sc around (12) — 2 rounds
- Rnd 5: [sc 2, dec] x 3 (9)
- Rnds 6-10: sc around (9) — 5 rounds
Fasten off, leaving a tail for sewing. Stuff lightly, leaving the top flat.
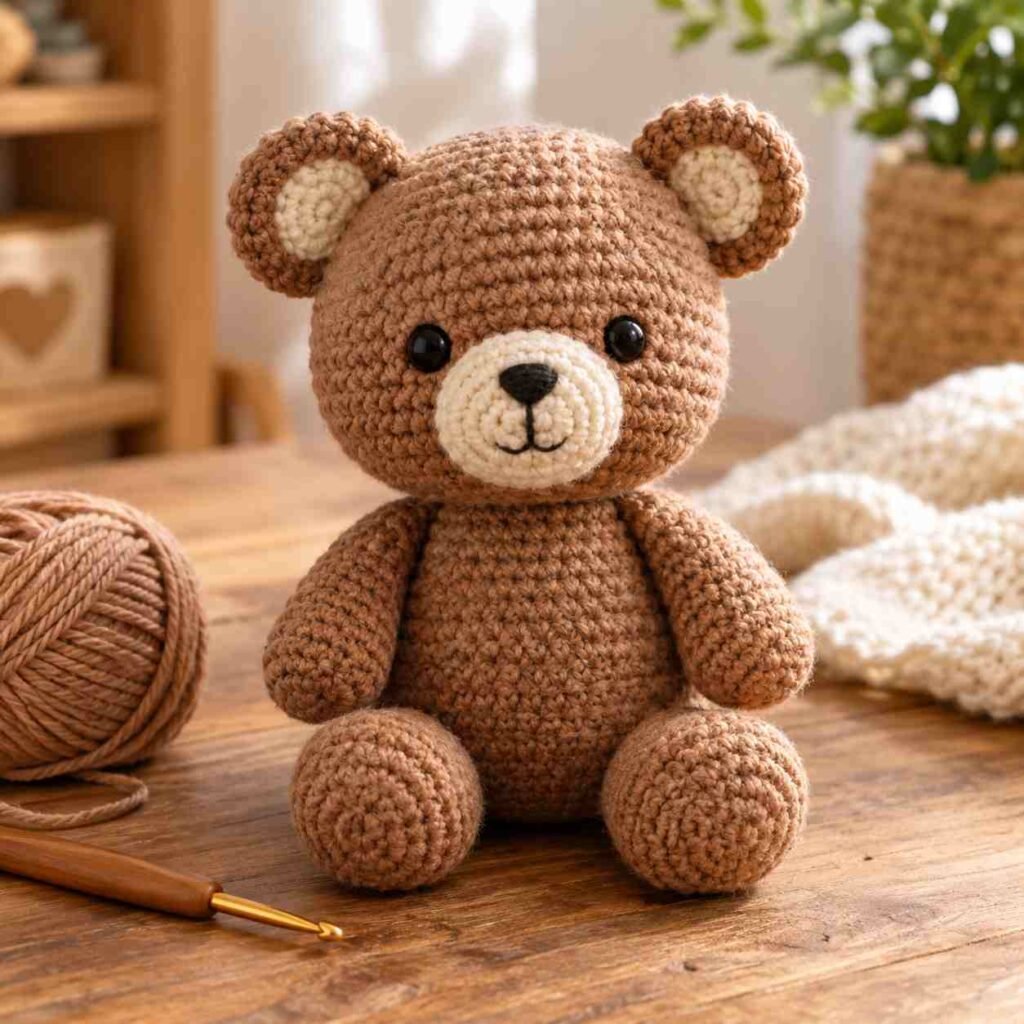
Assembly
Step 1: Sew the snout onto the lower-center of the face, positioned just below and between the eyes.
Step 2: Embroider the nose (a small triangle or oval in black) at the top of the snout, and a small vertical line down to a stitched mouth.
Step 3: Sew the head to the top of the body, keeping it centered.
Step 4: Sew the ears to the top of the head, spaced evenly on either side.
Step 5: Attach the arms to the upper sides of the body, and the legs to the bottom front, so the bear can sit upright.
Step 6: Weave in all remaining ends and fluff the stuffing gently through the seams if needed.
Frequently Asked Questions
What makes this bear pattern different from the bunny pattern? The main difference is the separate snout piece, worked using a back-loop-only round to create a raised, three-dimensional muzzle , a technique commonly used across amigurumi animal patterns with a snout, like bears, dogs, and foxes.
Can I make this bear without safety eyes? Yes — embroidered eyes in black yarn are a safe alternative for gifts intended for children under 3, though they take a bit more time than snapping in safety eyes.
How much yarn do I need in total? Roughly 120g of your main color and a small amount (under 20g) of contrast color for the snout and inner ears is enough for one bear at the size given.
Is this pattern harder than the bunny pattern? Slightly — the BLO snout technique is new, but everything else reuses the same increase/decrease shaping as the bunny, so it’s still very manageable for a confident beginner.
Final Thoughts
Baxter is a great next step after the bunny pattern, introducing just one new technique (the BLO snout) while reinforcing everything else you’ve already practiced. Share your finished bear in the comments, or tag us on social media , we love seeing your creations!